
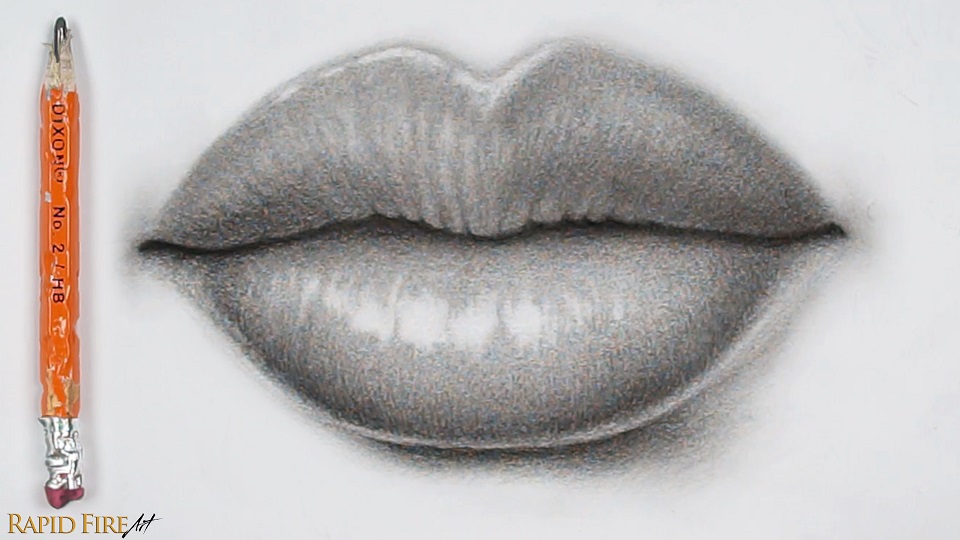
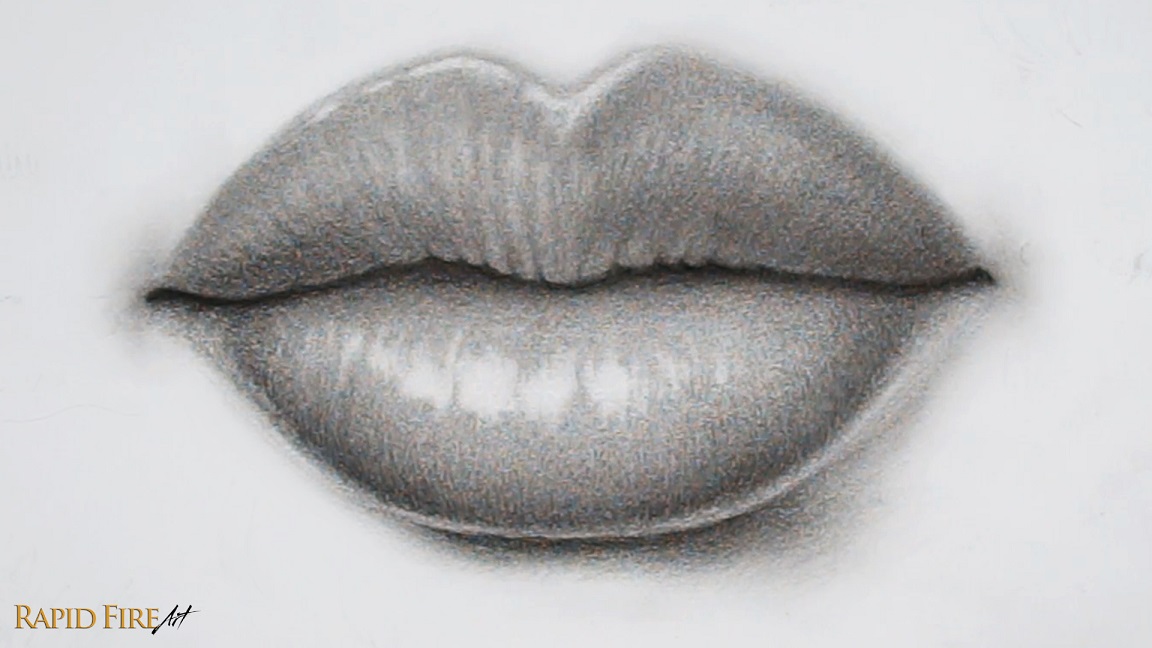
In this tutorial, I’ll be using a cheap HB pencil from the dollar store and a regular facial tissue to draw a pair of plump, realistic lips. This tutorial is adapted from my video instruction on Youtube and further simplified.
Tools:
- Cheap Dixon dollar store HB pencil with eraser on the end
- Ordinary facial tissue
- Printer paper
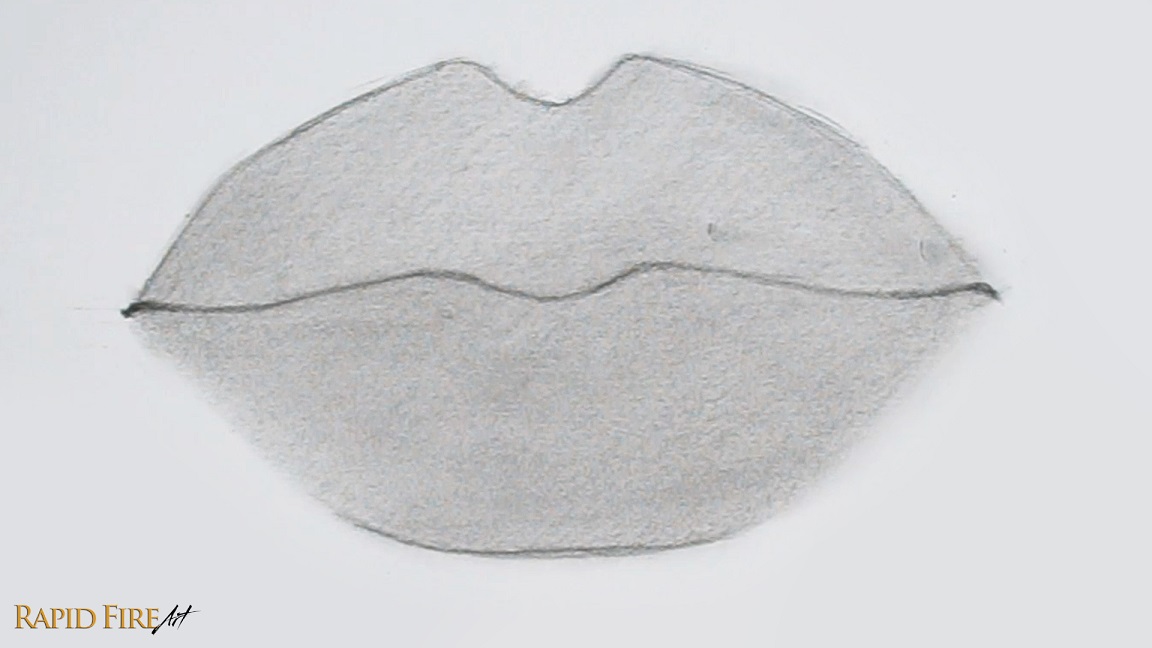
Step 1: Lip Construction
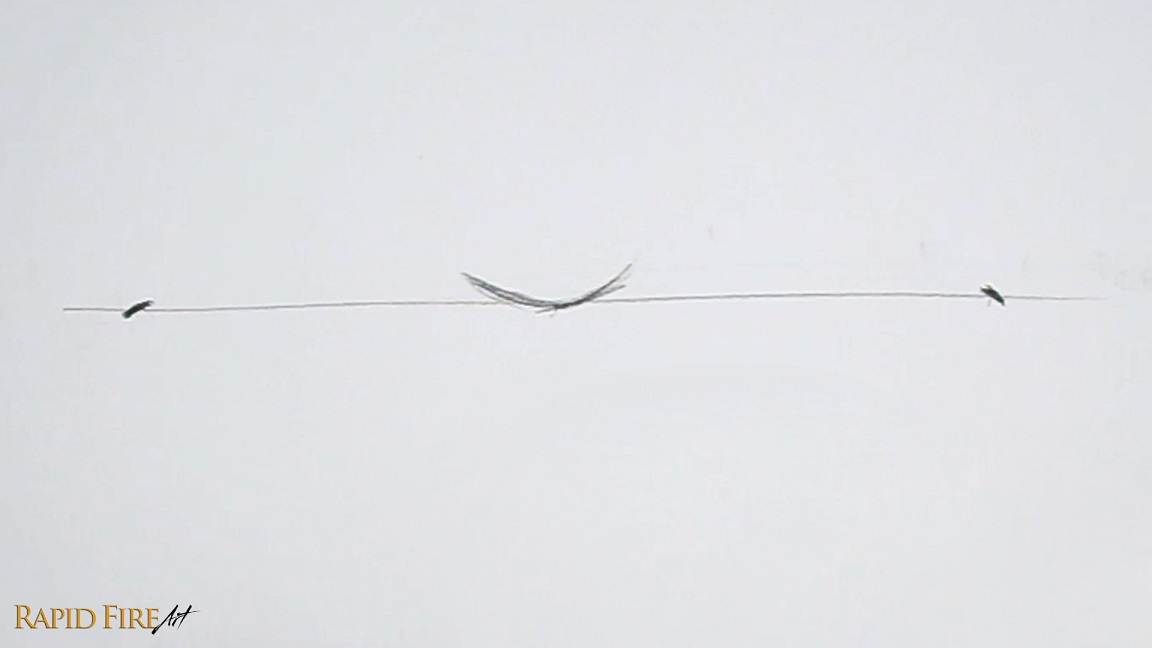
Start by drawing a long horizontal line across your page. In the middle, draw a shallow “U” shape. On each side, draw the corners of the mouth using little tick marks. Make sure they are spaced evenly apart.
Note: My line is approximately 18cm wide, in case you want to match it.
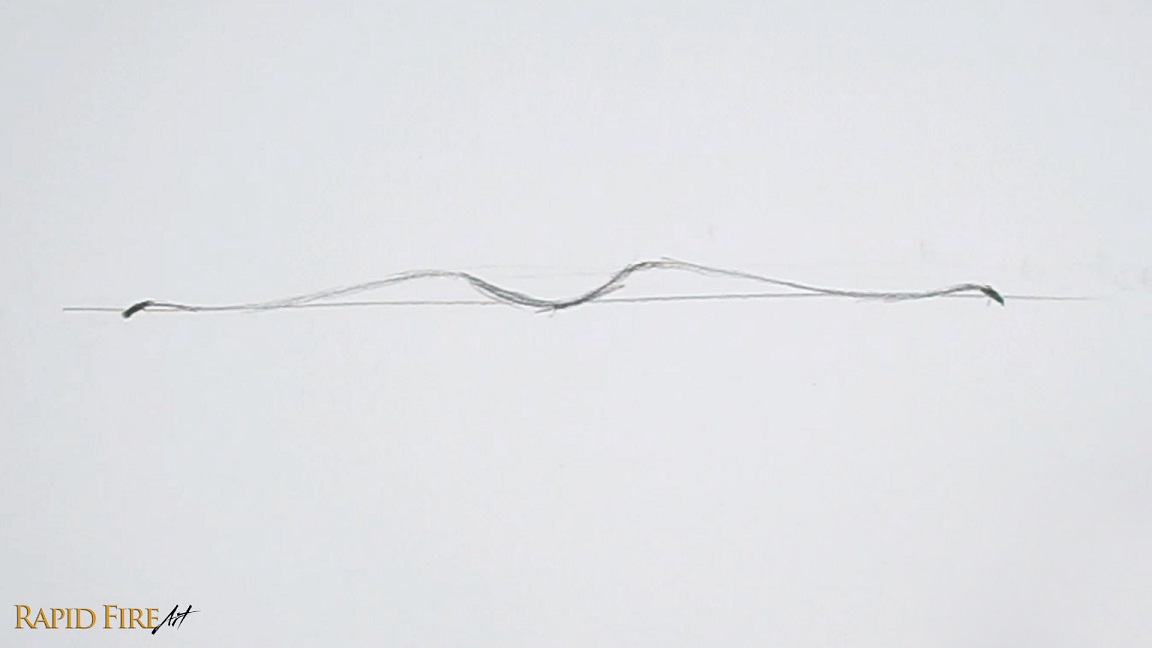
Now connect the shallow “U” and tick marks together using a wavy line. Once done, erase the horizontal line.
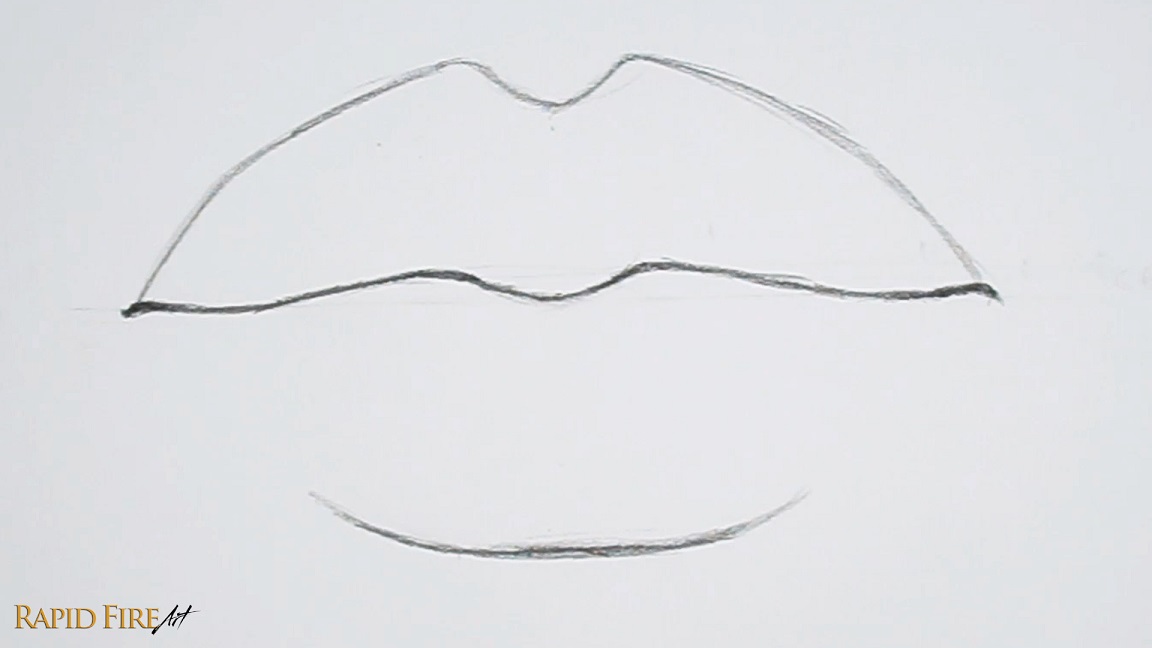
Draw the top and bottom lip. If you want to draw your lips narrower, you can reduce the vertical space.
Step 2: Shade Lip Base Layer
Sharpen your pencil to expose as much graphite as possible. Then use the side of your graphite to shade thick strokes across both lips. Just focus on shading a solid, medium tone. Keep your pencil strokes close together to reduce gaps and achieve a smooth shade.
Tip: Holding your pencil with an overhand grip versus a writing grip will help you achieve thicker strokes. Visit my shading tutorial to learn more.
Then blend using any tool of your choice. I’m using a regular facial tissue wrapped around the padded part of my index finger.
Step 3: Add Shadows
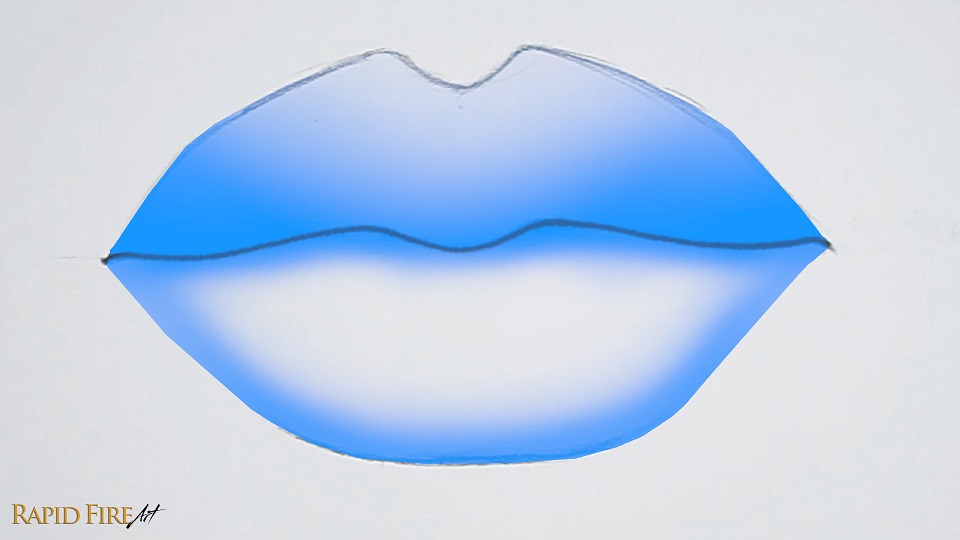
My imaginary light source is shining down from the top left. So I will shade the areas highlighted in blue a little bit darker to give the lips some shape. We will be shading them even more later.

Blend again. Make sure to blend from light to dark to avoid smudging your work.
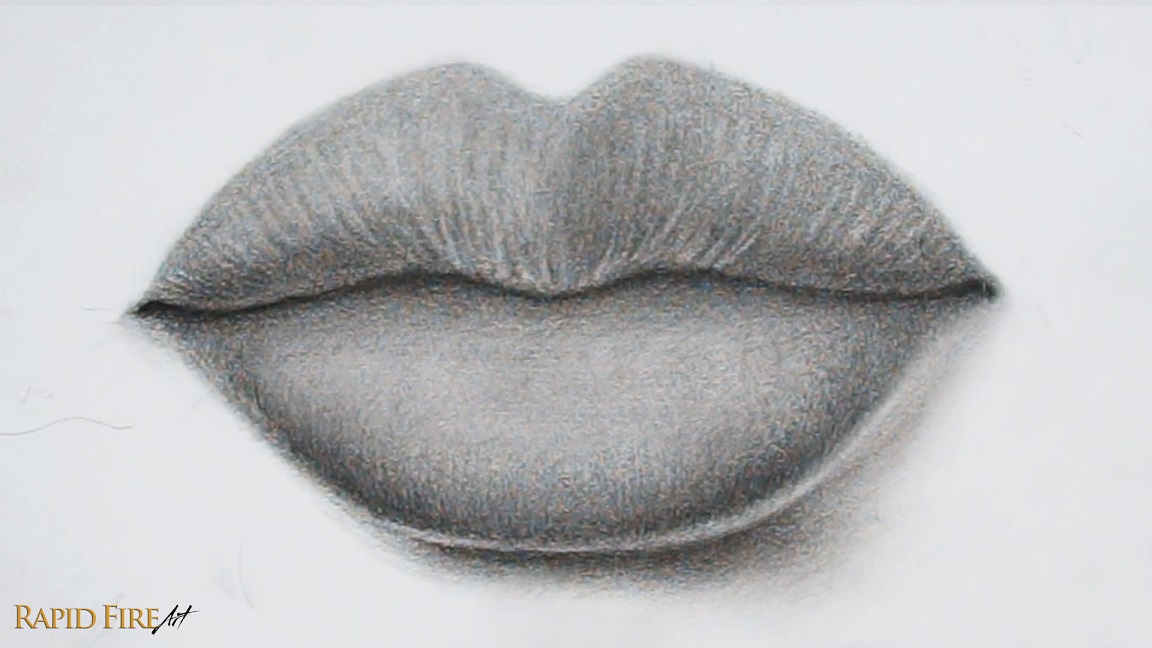
Step 4: Draw Lip Wrinkles
Let’s draw some lip wrinkles along the bottom of each lip to add some realistic texture to our drawing.
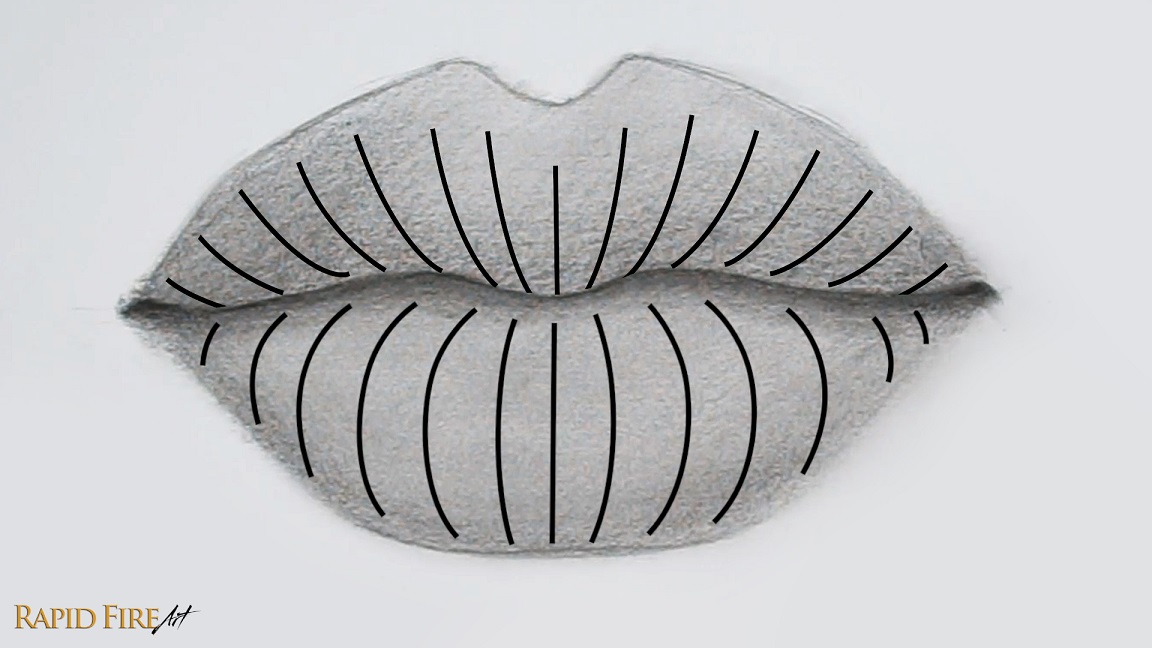
The image above is a reference to help you see the contour of the lips. If you draw wrinkles using curved strokes like this, it will help support the illusion of plump lips. For this drawing, let’s mostly draw wrinkles along the bottom of each lip. Leave a tiny bit of space along the very bottom of each lip to account for reflected light.
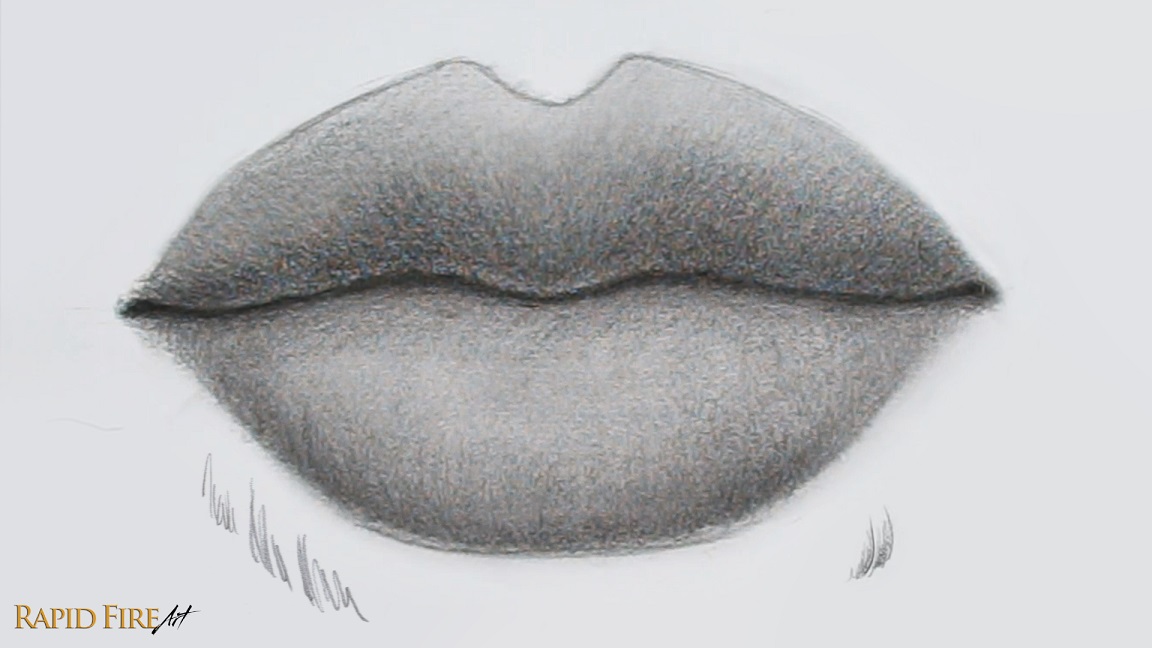
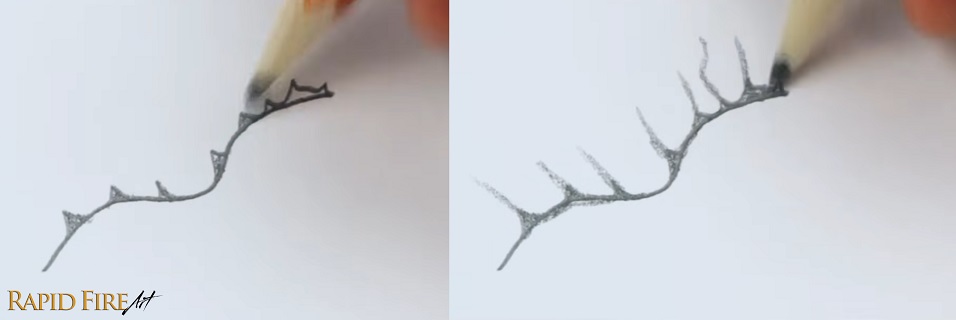
To draw wrinkles, use the tip of your pencil to get thin, clean lines. Vary the height and pressure of each line so the wrinkles can stand out and look natural. You can see an example of my strokes right below the drawing. Even though these marks look scribbly, layering several of them together creates surprisingly realistic wrinkles!
These new pencil strokes should double as shading to further shape the lips. So aim to draw these darker than the shadows you did in step 3. Try your best to fade out as you flick your strokes upward so the transition between light and dark is gradual.
If you want to soften up all these wrinkle textures so they are more subtle, blend your work slightly.
Step 5: Add More Shadows
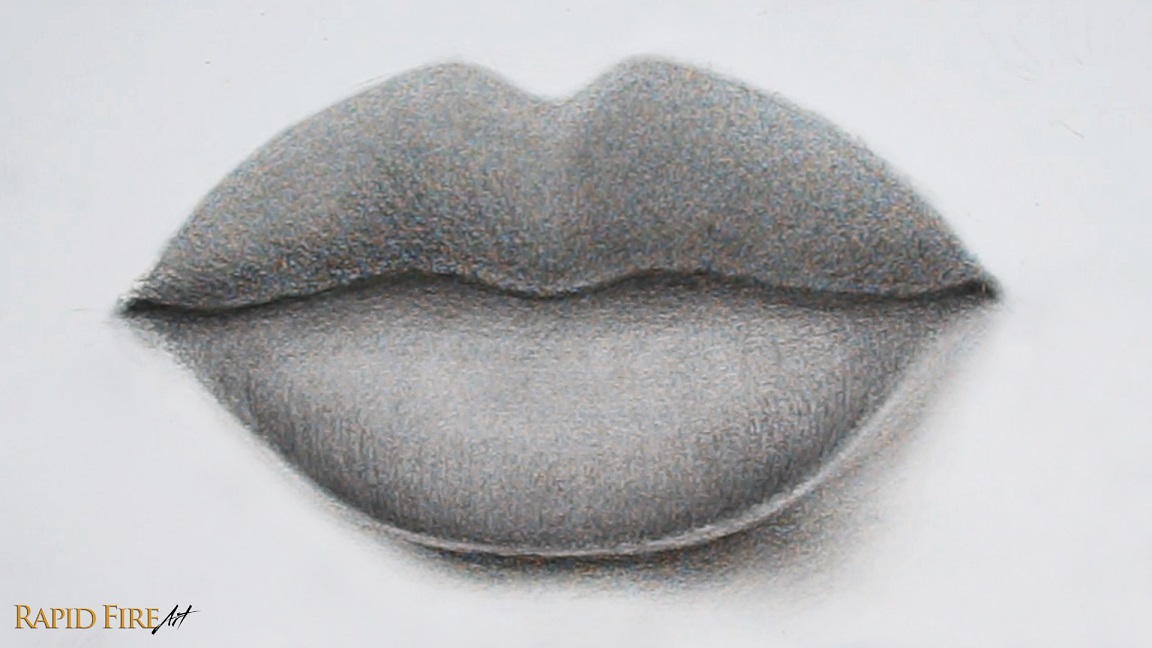
Add a cast shadow below the bottom lip and blend it very well. Since our light source comes from the top left, the cast shadow will be seen mostly along the bottom right.
Check to see if the outline of your top lip is still visible. If it’s very apparent, lighten it as much as you can and then shade the lip a little darker until it disappears.
Since our light source comes from the top left, the right half of the top lip will be in shadow, so shade it a little darker.
Step 6: Add Lip Wrinkles Using an Eraser
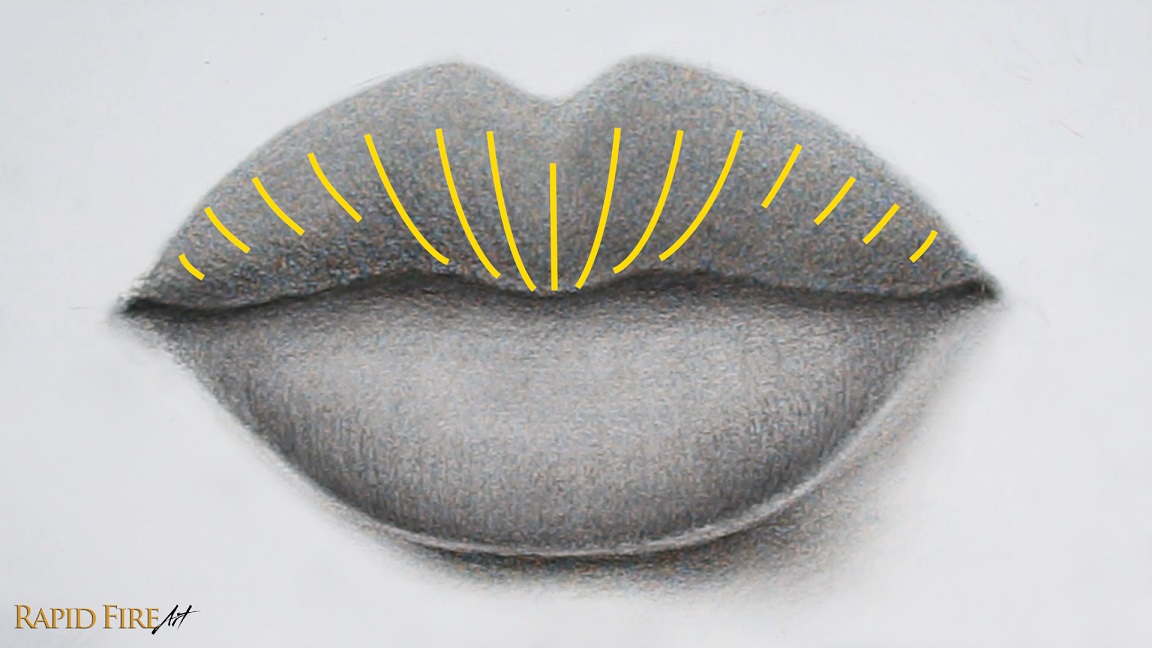
Let’s go along the top lip using our eraser to give it some more shape and texture. I’m going to erase along the areas highlighted in yellow. Curve each stroke to follow the contour of the lip like we did in step 4.
Group your strokes close together and vary the length of each one, trying not to create a noticeable pattern.
Tip: Use your eraser like how you would normally draw, using light pressure to erase subtly and more pressure to erase brighter strokes.
Once done, blend to make the wrinkle lines appear softer and more natural.
Step 7: Add Highlights
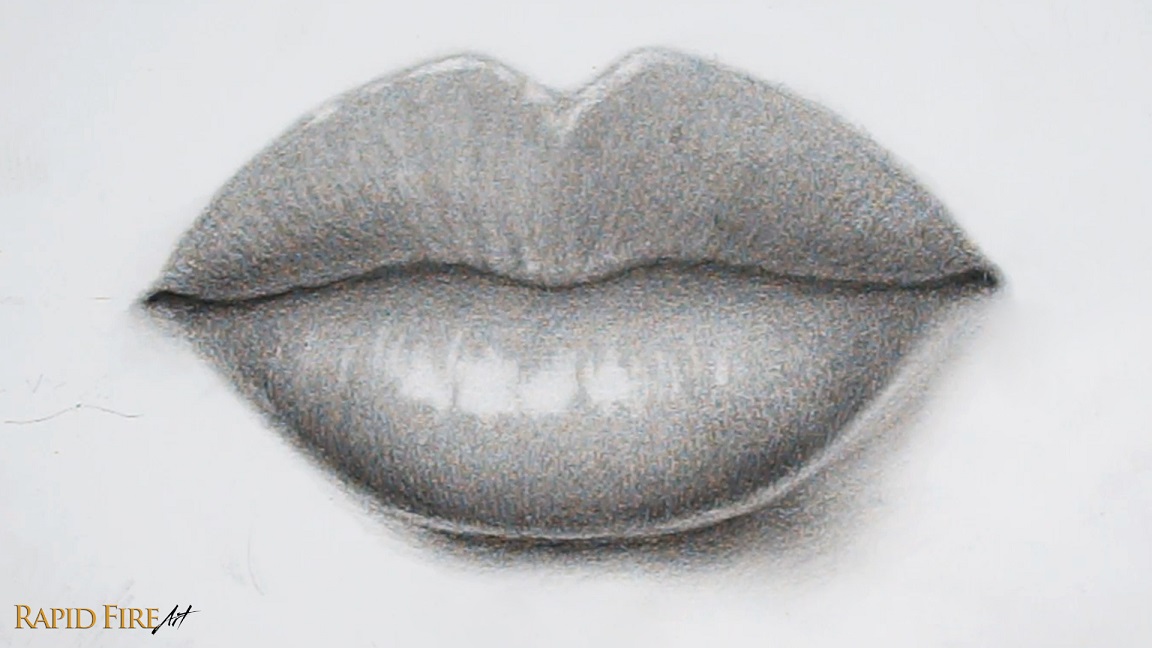
Highlights are the brightest areas of our subject, where the light source hits directly. Since our imaginary light source comes from the top left, we’ll avoid placing highlights along the bottom or right side of the lips.
I’m using an eraser to create these details. Vary your strokes so you have a variety of long, short, wide, and narrow ones. If you want your lips to look glossy, make the highlights more connected.
When making vertical highlights, curve your strokes to follow the contour of the lip (refer to the contour lines from step 4).
Step 8: Additional Details
Optionally, you can make the skin of your top lip appear bunched up.
This can be done by first drawing triangle shapes along the bottom edge, avoiding the sides of the lip. Then, from the top of each triangle, flick your pencil up to create deep wrinkle lines that fade out at the top.
If you already have some prominent wrinkles along your top lip, pick a few and draw your triangles at the base of each.
Between each of these new wrinkles, lighten the skin slightly to make the surface look raised.
A few more tweaks…
If you want to make your drawing pop more, you can increase the contrast by making sure the highlights are as light as you can get them and darken your shadows even more to improve depth.
Around the corners of the lips, shade slightly and then blend well to achieve a very slight dip in the skin. You can blend around the outer edge of both lips to soften them.
I hope this tutorial on how to draw realistic lips using an HB pencil was clear and easy to follow. If you got stuck or need clarification on any steps, please check out the original video tutorial where I walk you through each step and explain things in more detail with additional examples.
Happy drawing!!
Darlene
Darlene created RFA In 2013 with the goal of sharing simple yet detailed drawing tutorials with other artists on the world wide web. She is a self taught pencil portrait artist and Youtuber.


