
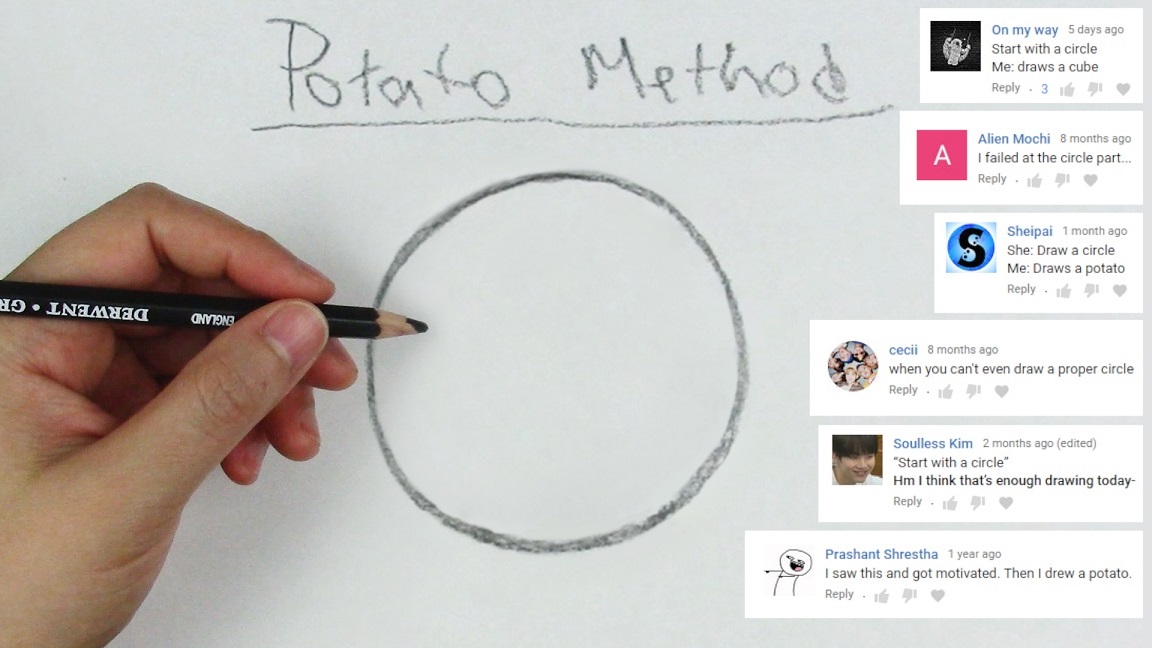
I get a lot of comments from people saying they can’t draw circles, or that their circles look more like potatoes or ovals. If that sounds familiar, this tutorial is for you.
We’re going to work completely freehand, so all you’ll need is a pencil, eraser, and sketchbook. If you’ve been wondering how to draw a circle without a compass, I’ve got three methods you can try below. To prove that these methods actually work, I’ll use my non-dominant hand. As long as you know what a circle should look like, you should be able to draw one, even if you’re picking up a pencil for the first time.
Here are three different methods for drawing circles.
Method 1: The Potato Method
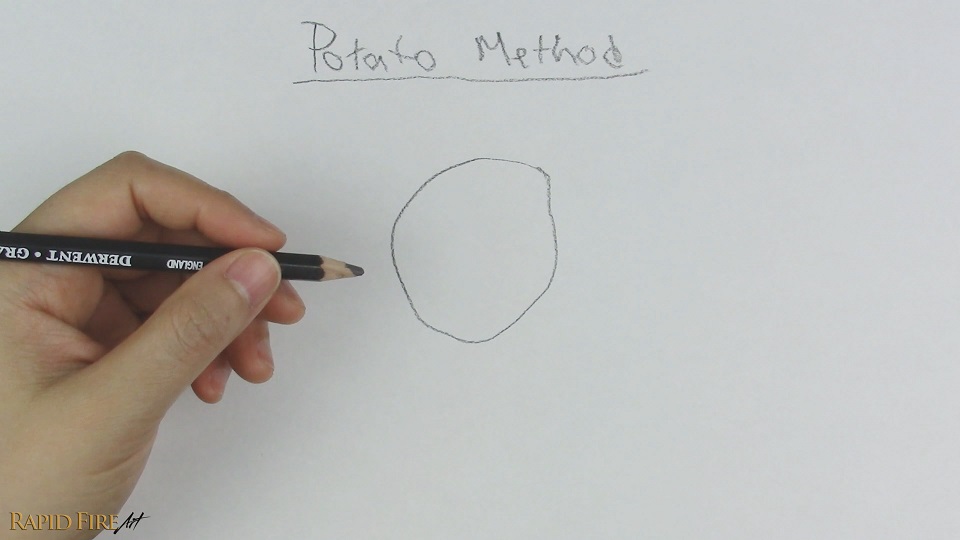
I’m calling this the Potato Method because our first attempt at a circle can sometimes end up looking a little more like a potato.
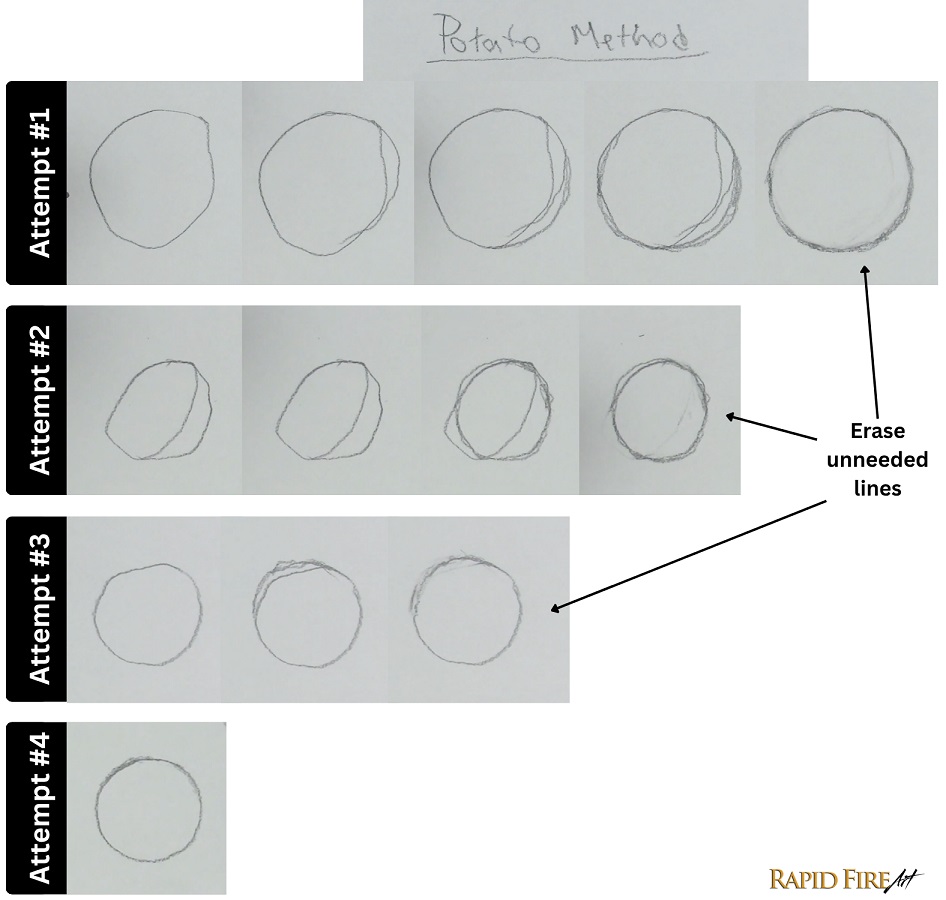
The first step is to draw your potato… I mean, just draw the best circle you can, even if it looks rough or uneven. Then reshape it using additional lines until it looks more circular. There’s no rule saying circles have to be drawn in one perfect motion, so take your time.
Once your shape is as close to a circle as possible, erase any unneeded lines. Don’t be afraid to use your eraser – It’s not cheating!
The more you practice this method, the fewer corrections you’ll need to make and the smoother your circles will become naturally. After 4 attempts, using my non-dominant (left) hand, my circle is already looking pretty good! No additional lines were needed to fix the shape, and I’m happy with it even without erasing anything.
If you’ve been avoiding circles because they seem too difficult, hopefully this method gets you to at least try drawing one. Don’t worry about getting it perfect on the first attempt. The whole point of this exercise is to make adjustments as you go.
Method 2: Using Short Strokes
This method is great if your lines come out shaky or are hard to control.
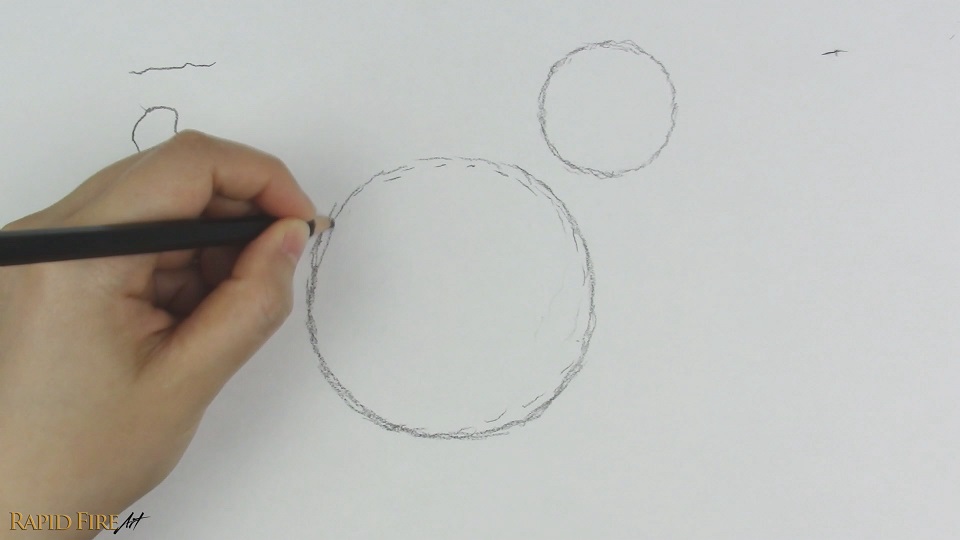
Instead of trying to draw one smooth circular line, use a series of short strokes and slowly shape them into a circle. Small circles are usually easier to draw than large ones, so start small if needed.
If your hand blocks your view, try drawing in the opposite direction.
The difficult part is visualizing the circle in your mind and then tracing it with your hand, so don’t expect perfection right away. If you make a mistake, don’t restart from the beginning. Just adjust your path where the mistake happened and continue from there.
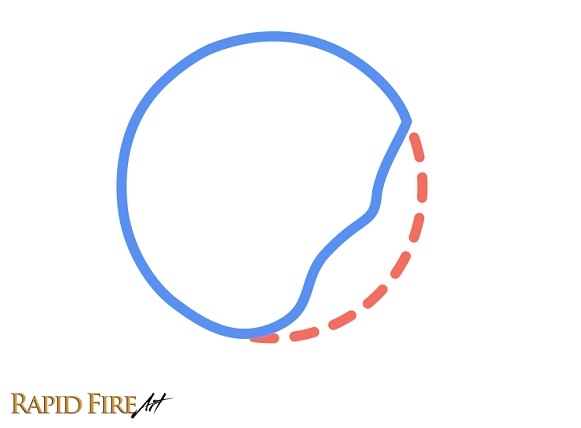
Over time, you’ll start noticing patterns in your mistakes, which makes them easier to correct before they happen. For example, when drawing with my left hand, I noticed my circles tend to get dented in the bottom-right area, so that’s the part I pay extra attention to whenever I draw one. Since I already know where the mistake is likely to happen, I can correct my path ahead of time, and with practice, the dent becomes less and less noticeable.
As your hand gets more comfortable with these motions, gradually practice using longer, smoother strokes to build your muscle memory. Over time, you’ll gain better control over your hand and get it to do what you want it to.
Method 3: How to Draw Circles Smoothly
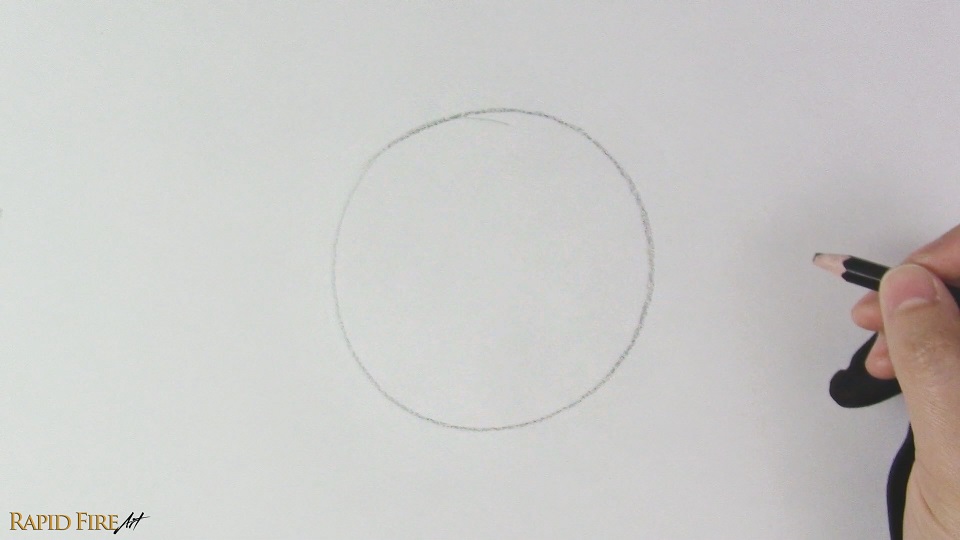
This method takes more practice, but it’s useful for drawing large circles quickly and cleanly.
It’s best explained in video format, so please refer to the video below for a thorough explanation:
Instead of drawing mostly with your fingers and wrist, try using your elbow and shoulder instead. The fewer joints you need to control, the easier it is to create a smooth circle.
Hover your pencil slightly above the paper while making circular motions in the air. Once the motion feels smooth and looks circular, lower the pencil and draw the circle.
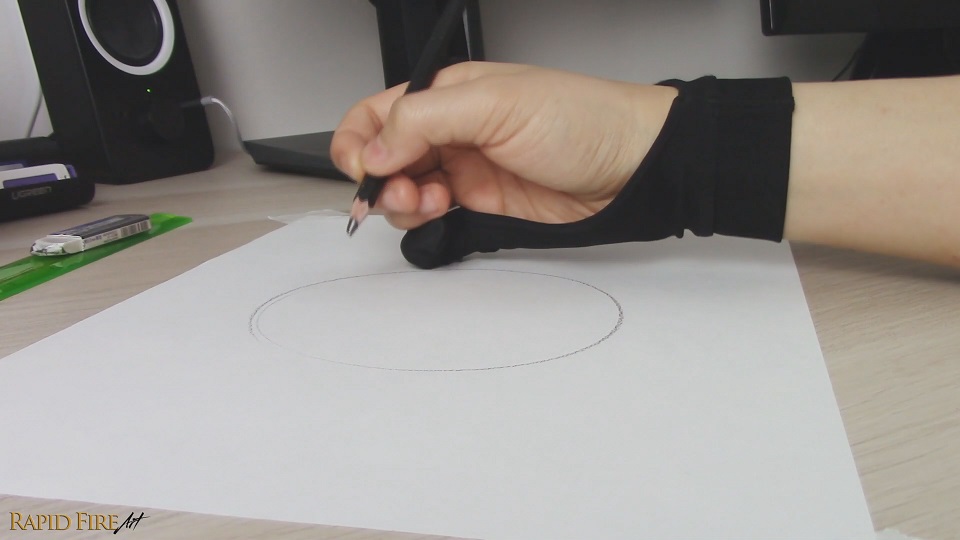
You can lightly rest the side of your hand or pinky on the page to help stabilize your motion.
If the movement feels awkward, try reversing the direction you’re rotating. Sometimes one direction feels much smoother than the other.
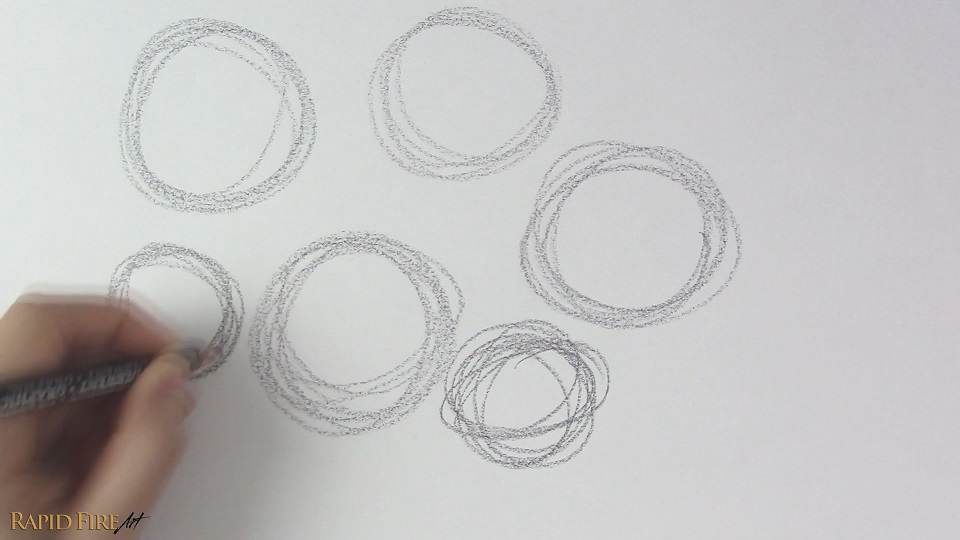
A great way to practice this method and clearly see the output of your arm movement is to keep your pencil connected to the page from the very start and draw continuous circles over and over again instead of hovering first and drawing a single circle. This helps cement the circular motion into your muscle memory much faster while also making it easier to quickly catch mistakes and adjust your arm movement accordingly. Filling a few pages with spirals like this is actually really good practice and will help the motion start to feel more natural over time.
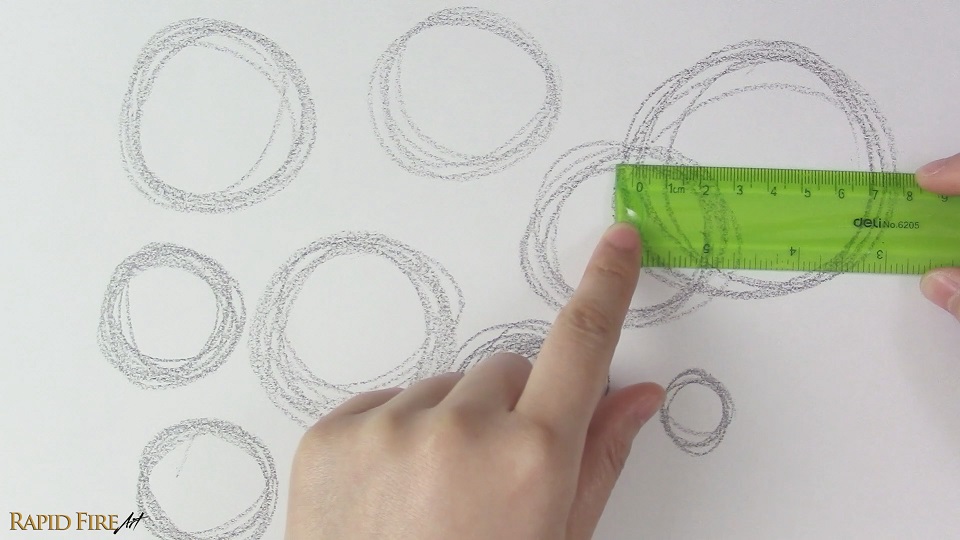
You can use this technique to draw both small and large circles, but you’ll probably notice that larger circles feel easier because your elbow and shoulder naturally work better across larger movements.
Circle Drawing Exercises
If you’d like some guided practice, here are a few simple exercises you can follow:
Potato Method Exercise: Fill a page with circles using the potato method. For each new circle, challenge yourself to use fewer corrective strokes than the last. As you work, pay attention to any patterns in your mistakes so you can adjust your hand movement with each new potato.
Short Stroke Exercise: Draw a row of very small circles using only short pencil strokes. For each new row, make the circles slightly bigger while trying to keep them as round as possible. As your control improves, challenge yourself to use longer/fewer strokes to complete each circle. You may be surprised at how quickly your hand starts building muscle memory for smooth lines.
Spiral Exercise: Keep your pencil on the page and draw continuous circles over and over again, creating a spiral pattern. This is a great way to build muscle memory and improve your circular arm movements. Try to fill about 3 pages with this exercise – it goes by quickly, and the repetition really helps lock in the motion.
Size Variation Exercise: Set a 3 minute timer, anchor your hand on the page, and hover your pencil a few millimeters above your sketchbook. For the full 3 minutes, make circular motions with your pencil in the air, focusing on creating a consistent circular shape. It may help to sit directly over your sketchbook so you can observe the motion of your hand and pencil from above. Try to minimize movement in your fingers and wrist while maintaining a consistent hover height. You may find it helpful to focus on just one aspect at a time, such as hover height, circularity, or reducing finger movement.
Once your motions feel smooth and consistent, begin drawing a series of circles, starting very small and gradually increasing their size until they fill most of the page. Then work your way back down to small circles again. Pay attention to which sizes feel the most difficult and spend extra time practicing those.
Try spending just a few minutes on these exercises whenever you sit down to draw. Consistent practice will improve your hand control and make drawing circles feel much more natural over time.
Final Thoughts
- The potato method helps you build circles through correction and reshaping.
- The short-stroke method improves your hand control if you’re new to drawing and struggling to draw smooth, continuous strokes.
- The third method trains your arm to draw smooth circles using broader movements, making it suitable for a wide range of circle sizes, especially larger ones.
Whichever method you use, the key is consistent practice. The more often you draw circles, the more natural the motion will feel as you build up your muscle memory over time.
I hope you give these three methods a try and let me know how it goes!
What’s Next?

Learn How to Make a Kneaded Eraser!
Did you know that you can make a putty-like eraser out of a solid one? It’s fun and super useful! Learn how.


How to Shade for Complete Beginners
Does shading feel intimidating? Here’s a shading guide and tutorial that breaks everything down – from elements of good shading, to how to hold your pencil, and how light works to create the illusion of form and depth.

Darlene created RFA In 2013 with the goal of sharing simple yet detailed drawing tutorials with other artists on the world wide web. She is a self taught pencil portrait artist and Youtuber.


