
My Recommended Drawing Supplies for Beginners
Hey, I’m Darlene, a self-taught portrait artist and here’s my list of recommended drawing tools for beginner artists. You don’t need anything fancy to start drawing. The tools below range from things you probably already have or can make at home to simple supplies you can pick up at a store. While a basic school pencil and any piece of paper will absolutely get you started, having a few reliable tools in your kit can make the drawing process smoother and more enjoyable while also helping you achieve better results.
These are the tools I use for most of my drawing tutorials, and I don’t feel limited by them. I know a lot of artists use a wide variety of specialized tools, but I prefer to keep things simple.
#1: Durable Sketching Paper
You can absolutely use matte printer paper to get started, but I recommend picking up an affordable sketchbook when you can.
The first thing you’ll want is an affordable sketchbook that you don’t mind scribbling in or even tearing a few pages out of. This is where most of your practice work will happen, so you need to feel comfortable experimenting and making mistakes without worrying about “wasting” paper.
I recommend choosing a sketchbook with thicker pages, especially if you tend to erase a lot. Thicker paper generally holds up better to repeated corrections and feels more durable overall. If you’re shopping in stores, try to look at and feel the paper in person. I’d stay away from sketching paper that feels even slightly fuzzy – based on my experience, it breaks down quickly when erasing and doesn’t erase cleanly, which can make drawing frustrating.
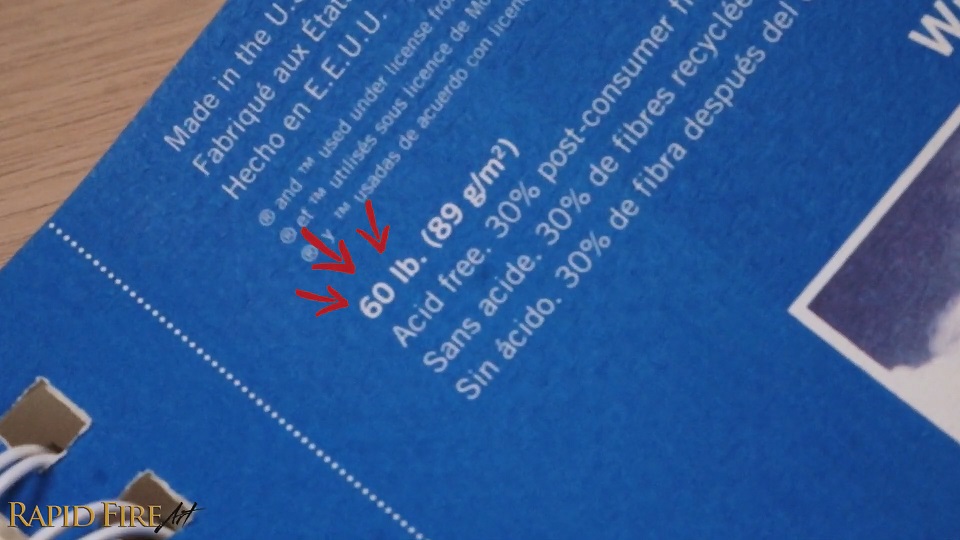
Aim for a smooth-feeling paper that still has enough thickness so your pages don’t warp or tear easily. If you’re shopping online, you can usually get a sense of the paper weight from the listing – something in the 50 to 60 lb range is a good starting point.
If you plan on keeping your sketchbook long-term so you can track your progress, make sure it’s acid-free so your drawings don’t fade or yellow over time. The Strathmore 300 Series is a good choice.
#2: Quality Drawing Paper
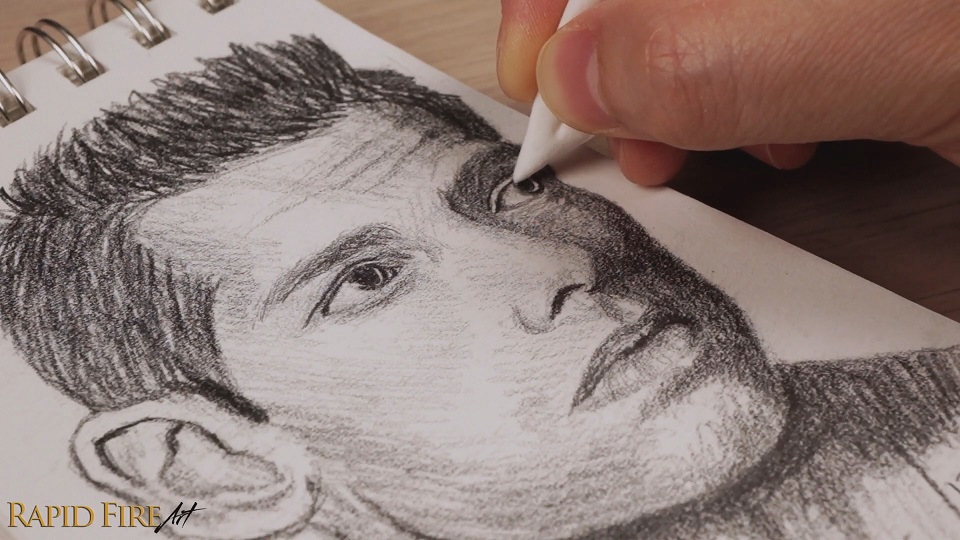
While a sketchbook is perfect for everyday practice, I also like keeping a pad of higher-quality drawing paper on hand for more finished work. Drawing paper is usually better at handling heavier graphite, more layering, and more detailed shading without breaking down as quickly. For reference, one of the longer drawing sessions I’ve done on this paper was 10 hours, and it held up without any issues or noticeable wear, even with heavy shading.
Because of that, you can achieve drawings with greater detail and depth. They also come in a wider range of textures, so you can choose a surface that better fits the kind of look you’re going for, the types of medium you use, and your personal drawing style.
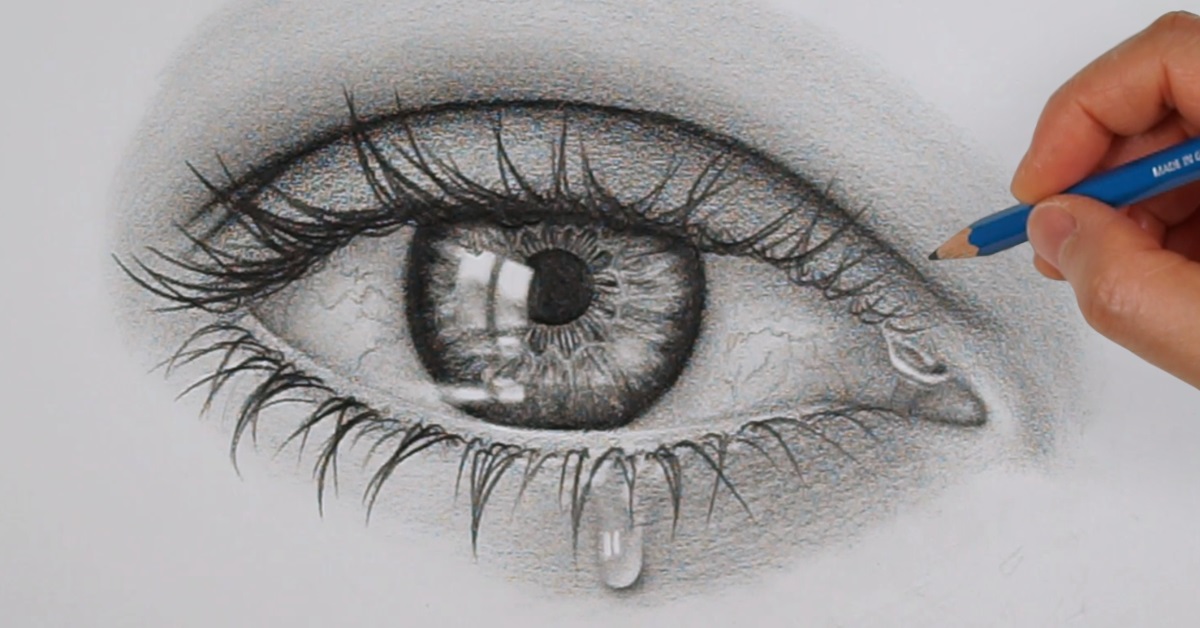
10-hour drawing using Canson XL Drawing Paper
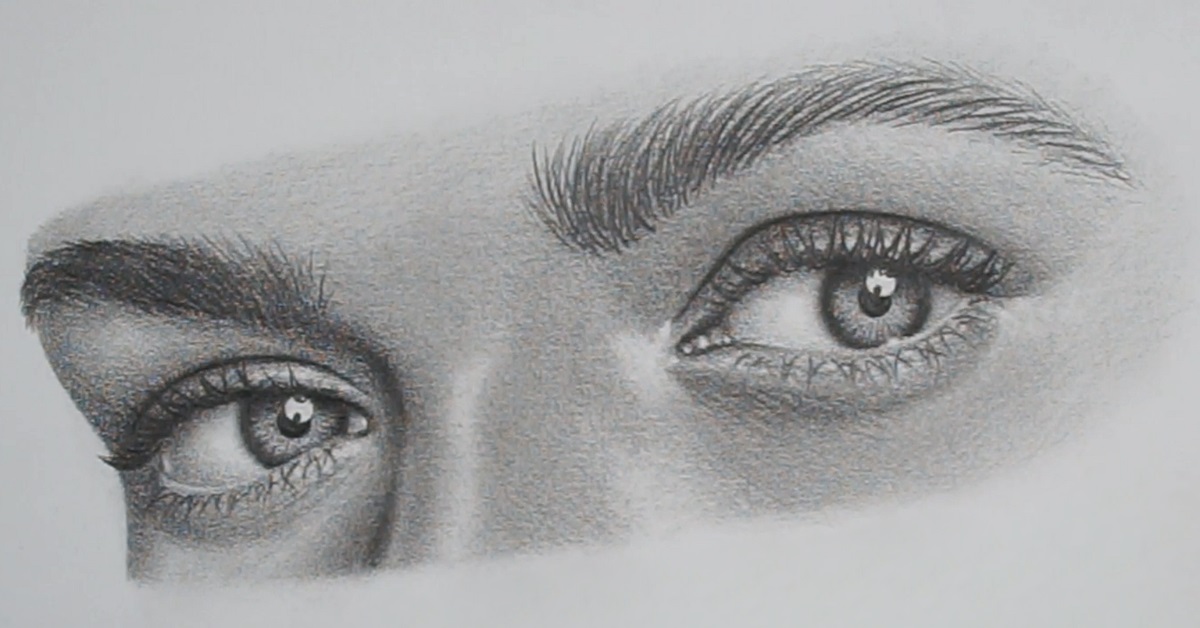
6-hour drawing using Canson XL Drawing Paper
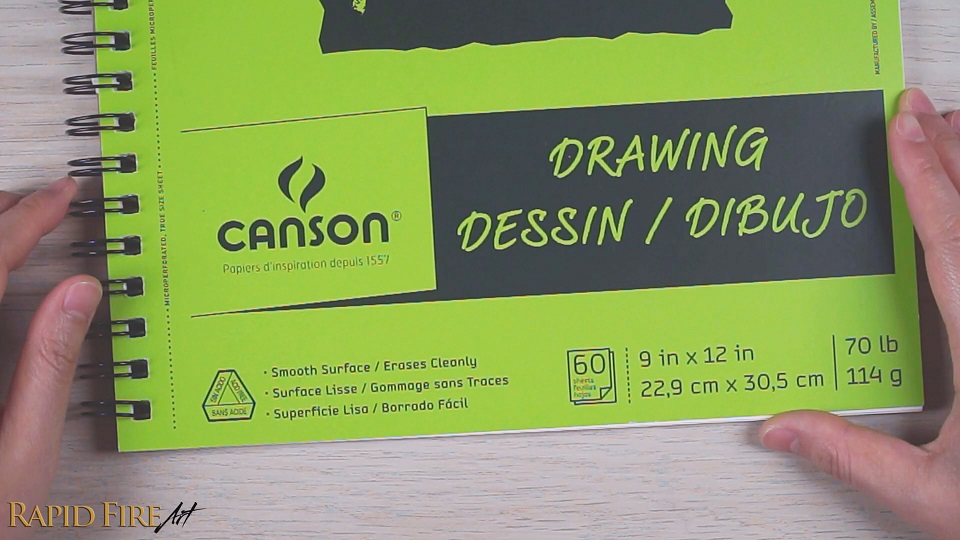
When choosing paper, pay attention to the texture, often labeled as the “tooth.”
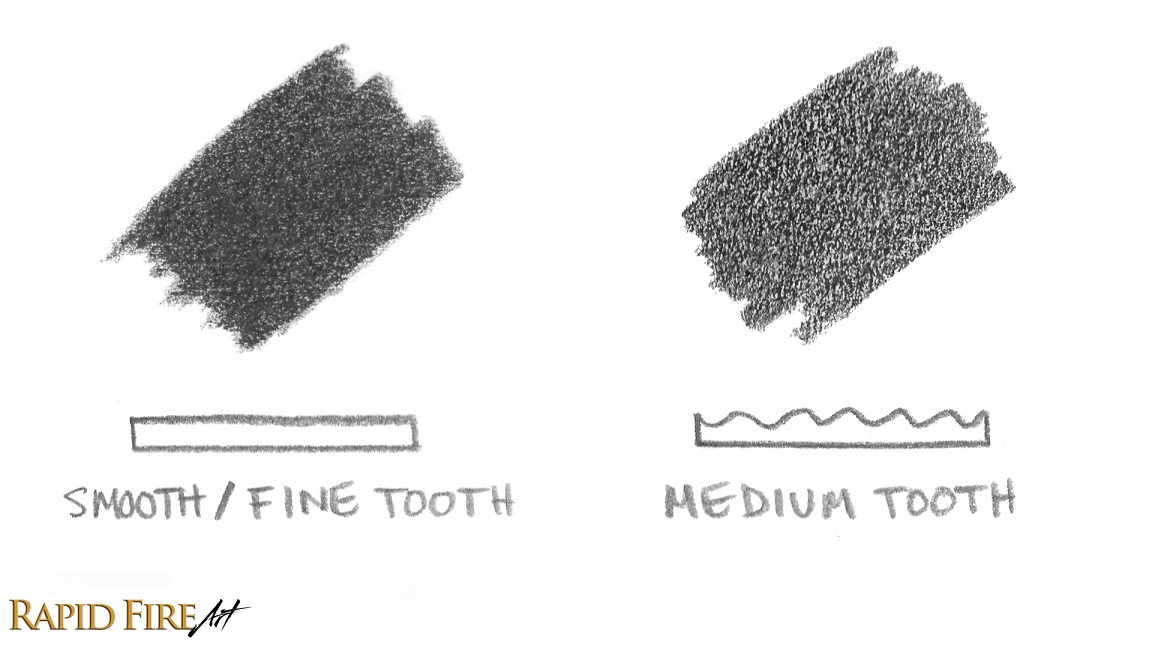
A smooth or fine tooth is great for detailed drawings and clean shading transitions, making details like hair/fur show up cleanly, while a medium tooth has more texture and can hold additional layers of graphite or colored pencil, making it better for building depth. My go-to paper is Canson XL Series Smooth Drawing Paper. This is the paper I use for most of my drawing tutorials. I usually stock up whenever I find it on sale because I go through quite a bit of it.
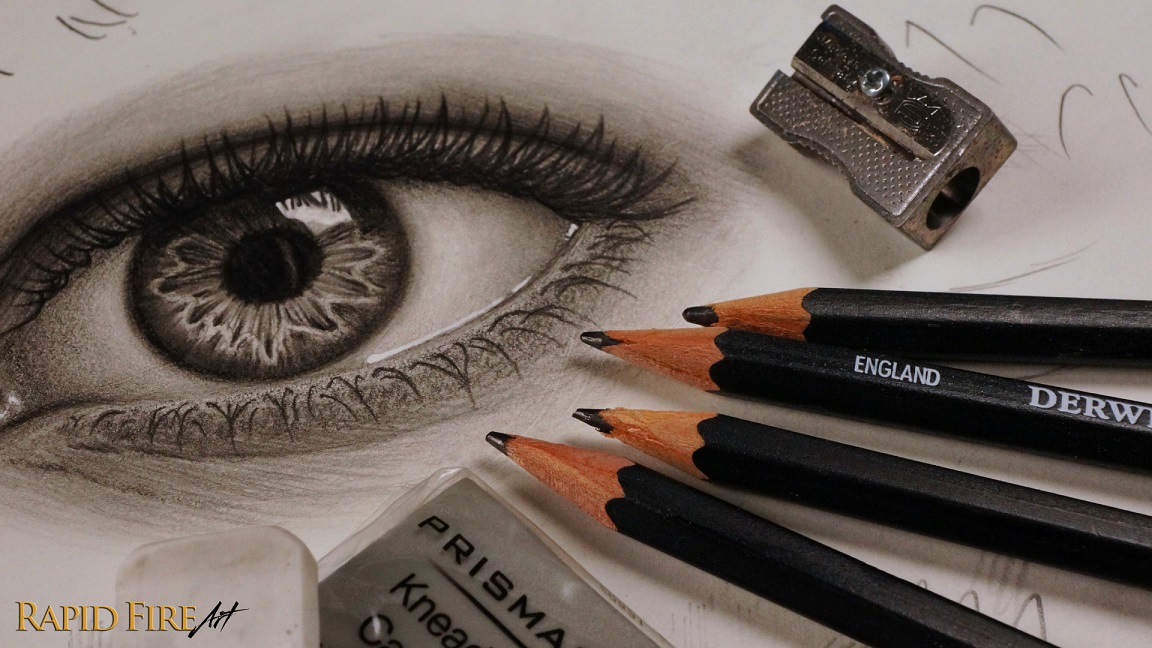
#3: Drawing Pencils
Now let’s talk pencils. Most people are familiar with the HB or number 2 pencil from school, and it’s actually great for sketching and practicing. But when you want more contrast, depth, and darker values in your drawings, softer pencils become incredibly useful. Softer pencils are also much easier to blend. They also tend to blend more easily than harder grades.
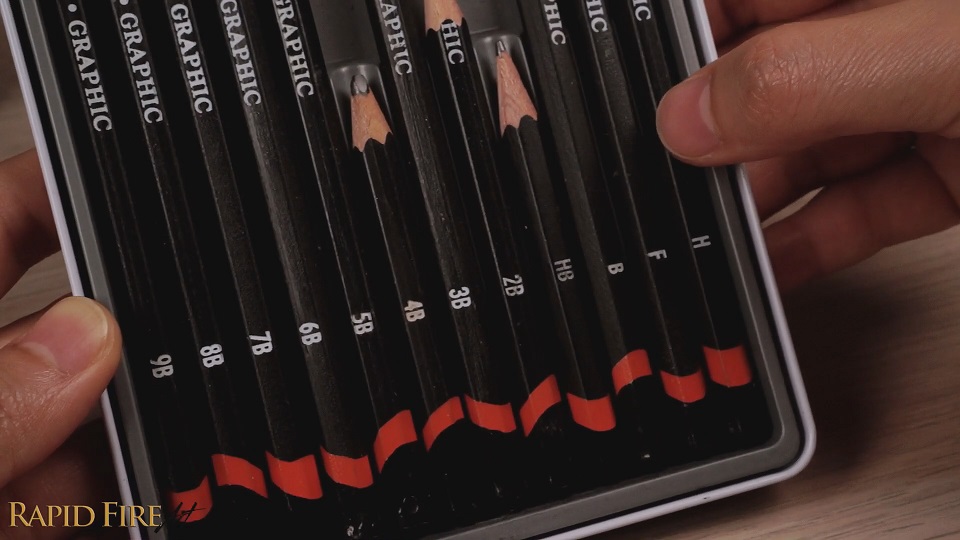
A drawing pencil set typically includes a range of grades from soft to hard, giving you access to both dark and light values. You definitely don’t need every single grade (just like you don’t need every sandpaper grit for a carpentry project), but having a variety of pencils makes shading smoother, more efficient, and easier on your hand because you don’t have to work as hard to achieve the values you want.
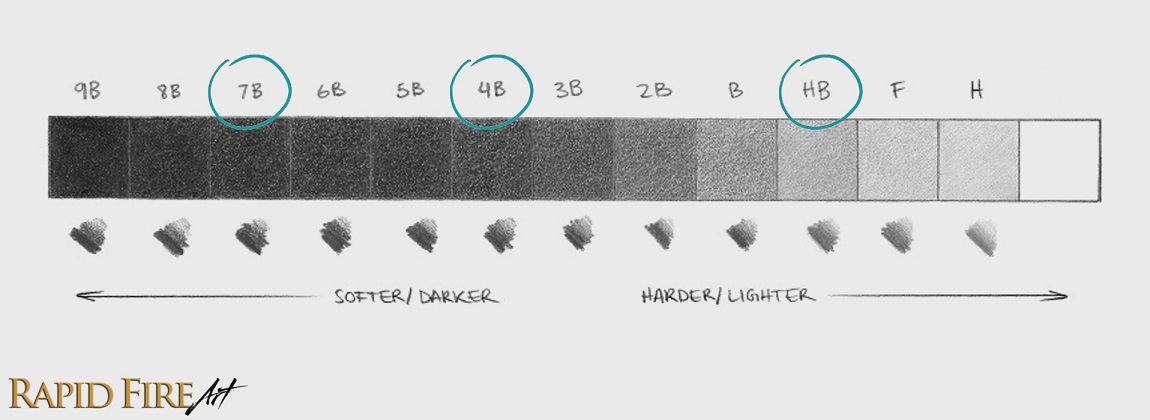
If you’re on a budget, you don’t need a full pencil set. You can get by with just two or three pencils. One harder pencil is perfect for sketching, construction lines, and light shading, and then one or two softer pencils will handle your mid-tones and darker values. If you prefer to keep things simple and only want a single pencil, I’d recommend a 4B. It’s dark enough for shading deep values while still being versatile enough for sketching and general drawing.
I used Derwent Graphic Pencils for many years before switching to Staedtler Lumograph Pencils. While both are great options, I prefer the Staedtlers because I find their texture more consistent and I haven’t experienced any lead breakage while sharpening them.
#4: Erasers
I also recommend having two types of erasers. A solid plastic eraser, like the Tombow Mono eraser, is great for removing larger areas or cleaning up parts of your drawing where precision doesn’t matter as much.
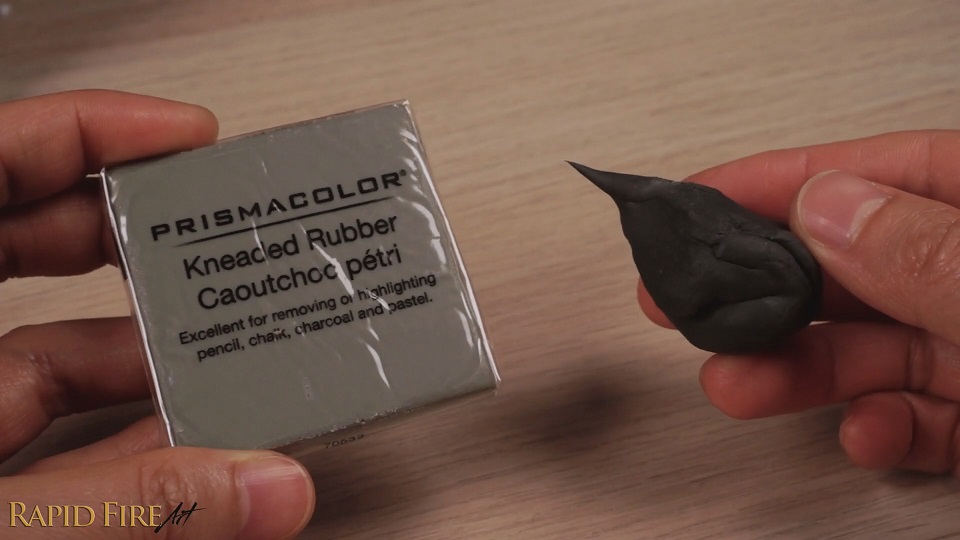
Then, for fine detail work, a kneaded eraser is incredibly useful. You can shape it however you want, and it lets you lift graphite gently without rubbing or damaging the paper. You can buy one or make one using my DIY tutorial!
#5: Reliable Pencil Sharpener
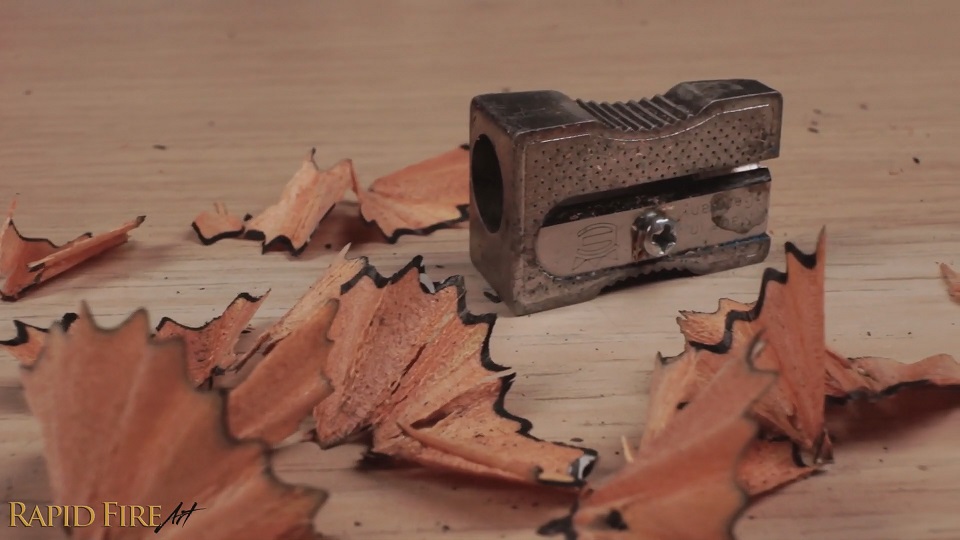
A good sharpener also makes a big difference. I personally like all-metal sharpeners because they feel more stable and give you a consistent, sharp point every time. If you tend to use softer pencils or draw with a heavier hand and need to sharpen often, an electric sharpener can save a lot of time.
#6: Transparent Ruler
A ruler is another simple but important tool, especially for perspective drawings and construction lines. A transparent ruler is especially helpful because you can see your drawing underneath it instead of blocking your view while you measure or align things. There’s no need to spend a lot of money here. Any transparent ruler from the dollar store will do the job. Just make sure the edge is smooth and free of rough spots so it doesn’t wear down your pencil tip as you draw against it.
#7: Drawing Glove
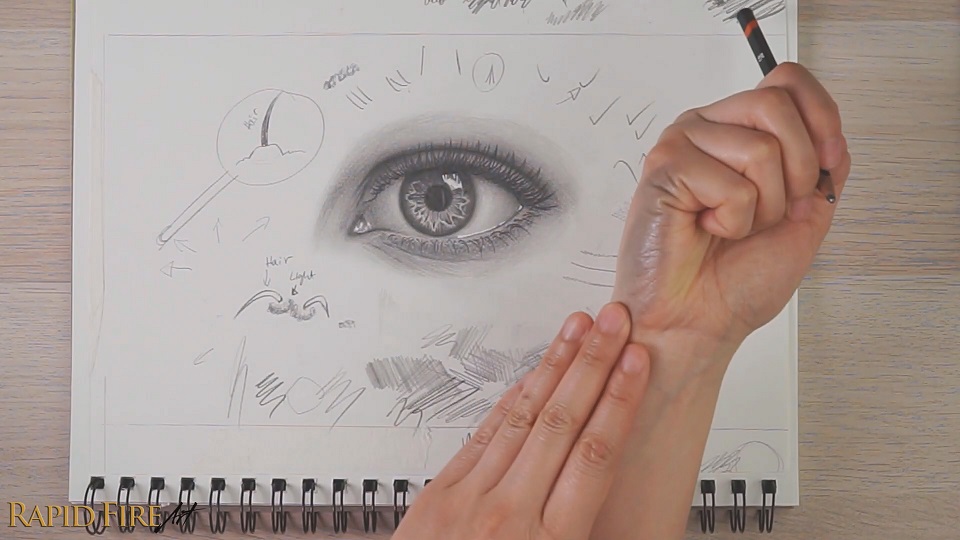
To avoid smudging your work, place a clean scrap piece of paper under your drawing hand as you work. This prevents your skin from smearing graphite across the page or leaving skin oils behind, which can stain and ruin your drawing.
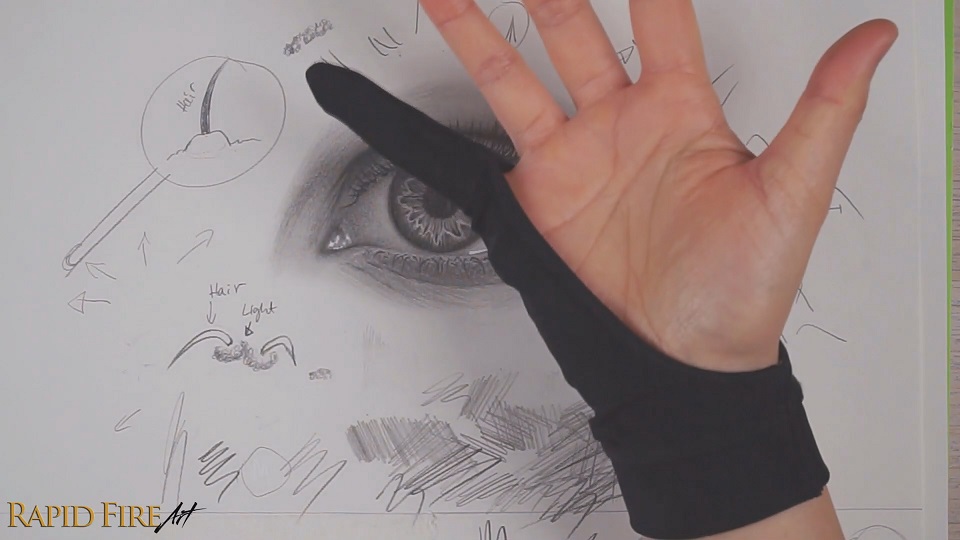
If you don’t want to keep shifting a sheet of paper around, a drawing glove is an even better option since it moves with your hand and protects the surface as you draw.
Smudging isn’t just an aesthetic issue, it’s also just annoying to constantly erase marks from your hand or stop to wash up mid-drawing. I also avoid drawing immediately after washing my hands, since any leftover moisture can slightly wrinkle the paper. I usually wait a few minutes before getting back to work.
I have several drawing gloves, including one that’s made specifically for traditional drawing. But honestly, the gloves that came with my digital drawing tablets work just as well. Traditional drawing gloves can also be surprisingly hard to find on their own and are often more expensive than they need to be, so there’s no need to hunt down a glove specifically marketed for graphite or pencil drawing. In my experience, a standard digital drawing tablet glove can work just fine.
Just make sure it fits your hand properly so you don’t have excess fabric dragging across the page. While a glove does help reduce smudging and the transfer of oils, it doesn’t completely prevent it. You still need to be mindful not to drag your hand forcefully over your drawing.
#8: Blending Tools
For blending, you don’t need anything fancy. A simple facial tissue, Q-tip, or even toilet paper works really well.
If you need a finer point for detailed areas, you can fold a tissue over a couple of times and then into a triangle shape until you get a sharp edge. As it gets dirty, just switch to a clean section and refold it.
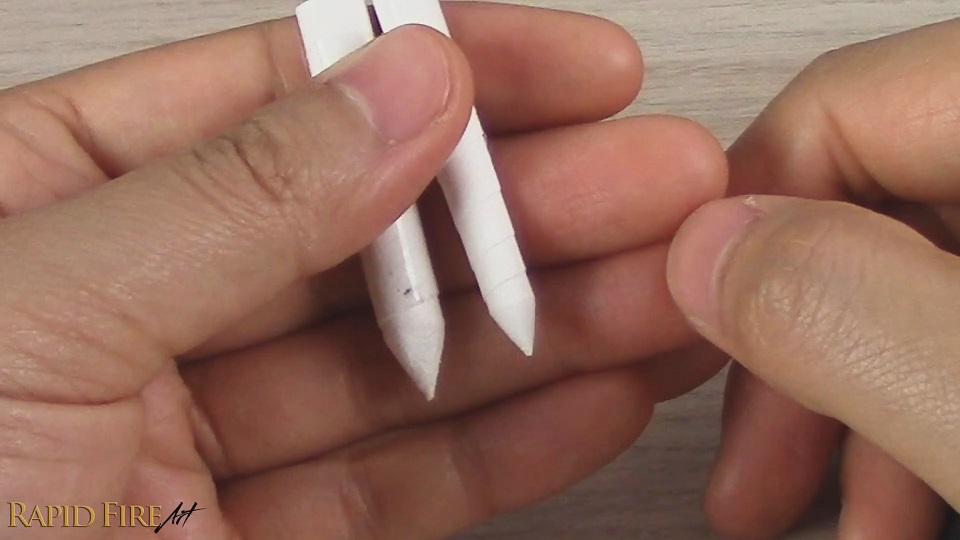
If you want something more structured, you can also make your own blending stump using materials you probably already have at home.
Learn how to make a blending stump! You can also buy premade blending stumps if your budget allows.
Those are all my essential drawing tools for beginners. If you have any tools you personally rely on, feel free to share them in the comments to help other beginner artists out. Thank you!
Recommended Reading

Learn How to Make a Kneaded Eraser!
Did you know that you can make a putty-like eraser out of a solid one? It’s fun and super useful! Learn how.

Join My FREE Beginners’ Drawing Course
Click here if you don’t know where to start on your drawing journey!

Darlene created RFA In 2013 with the goal of sharing simple yet detailed drawing tutorials with other artists on the world wide web. She is a self taught pencil portrait artist and Youtuber.
My Recommended Drawing Supplies for Beginners Read More »