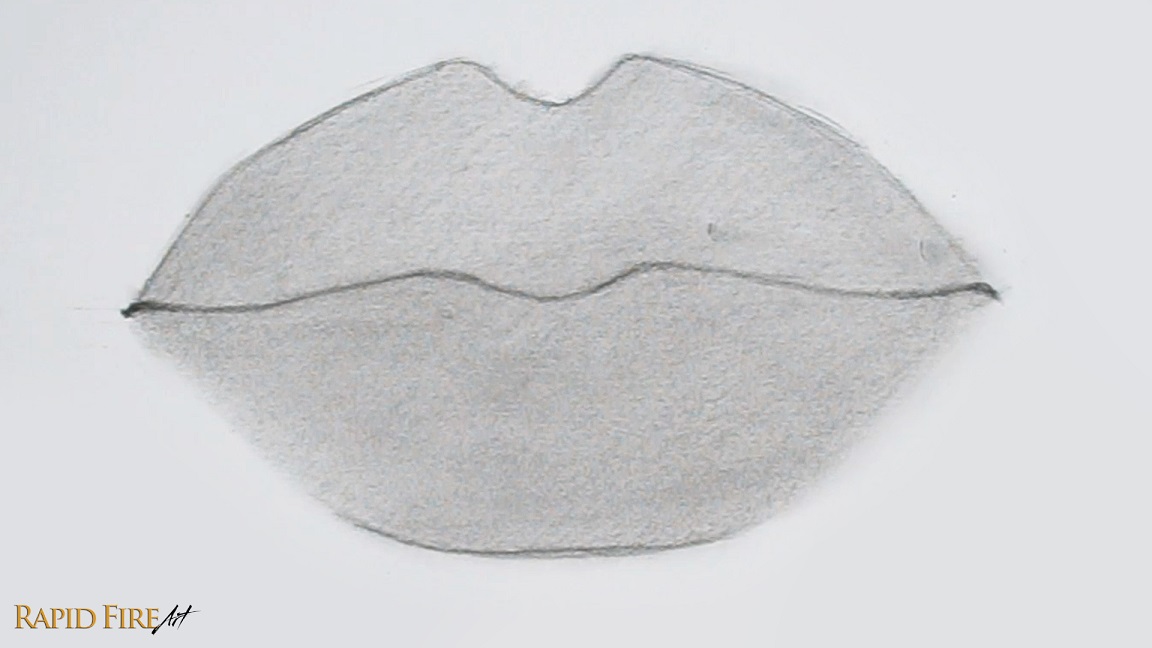
How to Make DIY Models to Enhance Your Drawing Skills

Are you good at drawing facial features from the front or side but struggle with other angles? Today I’m going to share a quick and fun DIY method for making simple 3D models that you can move around to explore facial features from any angle. These are very rough models, just enough to help you think through placement and structure when reference photos aren’t available. You’ll still want to study real faces to draw them realistically, but this can make certain angles a lot easier to wrap your head around.

If you don’t have any molding clay, Play-Doh or even a kneaded eraser, you can follow the recipe below to create something that feels similar to Play-Doh. If you already have molding clay, you can skip the recipe section and go straight to the section on how to form a 3D eye, nose, and head model.
Simple Non-Toxic PlayDoh Recipe

To make this non-toxic Play-Doh from scratch, you’ll need:
- 1 tbsp of Table Salt
- 1/4 cup of All Purpose Flour
- 1/8 cup of Dish Soap
In a small bowl, mix the salt and flour well. Then add the dish soap in and mix again. You can add a few drops of food coloring if you like. Once the mixture starts clearing the sides of your bowl, feel free to get in there with your hands for a more thorough mix. I found this recipe just right for me, but since it’s likely we won’t be using the exact same ingredients, here are some troubleshooting tips for you:
- Mixture too dry? Add more dish soap
- Too wet? Add more flour
- Too crumbly? Use less salt

Our goal is to get a consistency that is easy to shape without falling apart, crumbling, or being overly sticky. Here’s a test! Can you create a pointy tip (like the end of a witch’s hat) without it falling apart? If it’s falling apart now, it will become worse as you play with it because exposure to air will dry it out further.
Notes: The salt acts as a preservative, so you can keep this Play-Doh in an airtight container for a few months without it getting moldy. Avoid using oil as a substitute for the dish soap because it can actually ruin your drawing if it comes in contact with your paper, even just briefly.
How to Form 3D Models of Facial Features
Making a 3D Eye Model

- Create the Eyeball: Roll a piece of Play-Doh into a ball and set it aside.
- Create the Eyelids: Roll another ball around the same size as the first one and flatten it down (don’t make it too thin or else it will be difficult to peel off your work surface. 3mm to 4mm worked nicely for me). Cut it in half using a straight edge such as a ruler or butterknife. These halves will be the top and bottom eyelids.
- Assemble the Eye: Place the two lids onto the ball, leaving a football-shaped opening to form the eye. Pinch the two lids together so they stay put.
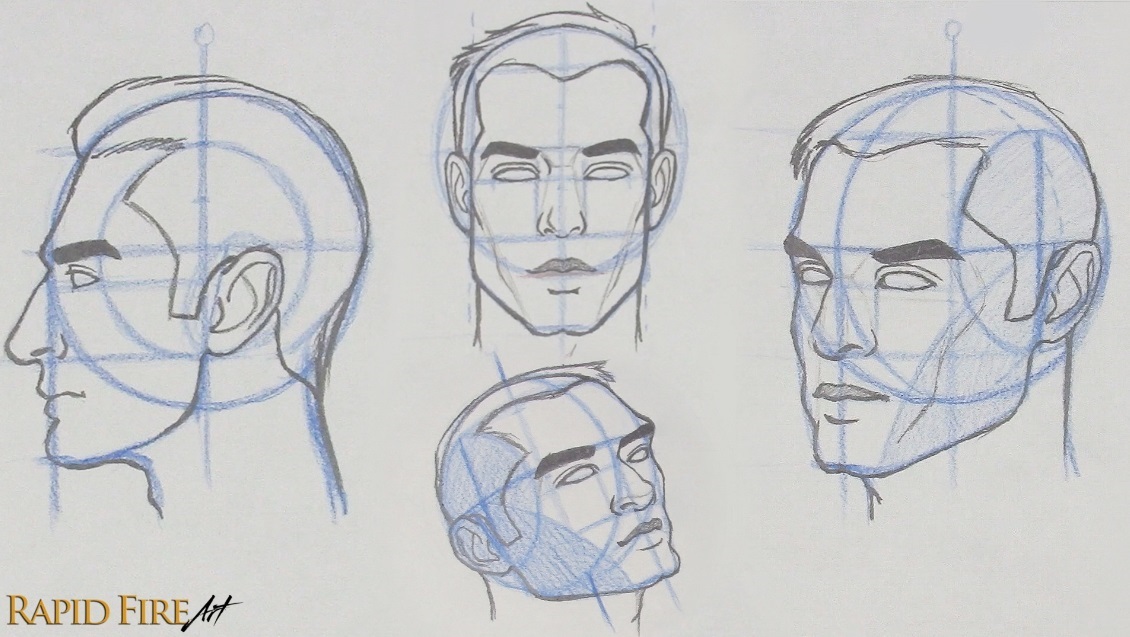
Think of this model as a sketching aid. Rotate it, explore an angle, then translate that view directly into your drawing. It was very helpful for me when practicing the Loomis head drawings.

Making a Nose Model

- Create the Base: Form a wedge shape with a trapezoid at the bottom.
- Add Nostrils: Attach two round pieces on the sides for the nostrils. Press them in until they look more like half-spheres.
A blocky model like this trains your eye to think in 3D rather than copying outlines and makes proportion or orientation errors easier to spot and fix. Keep it next to your desk as a handy reference tool.
Making a Model Head

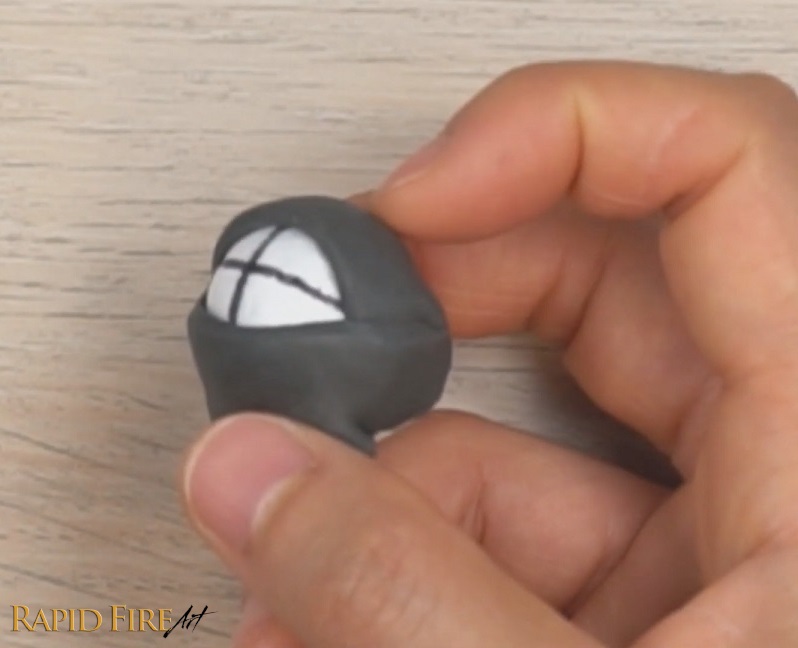
- Prepare the Base: Make a ball using your play-doh or better yet, a styrofoam ball and pierce it with a toothpick through the very center.
- Mark the Lines: Draw a vertical and horizontal line around the ball, ensuring they form a 90-degree angle and that the vertical line goes through the North and South Pole.
These lines help inform where facial features should go when the head is tilted at any angle. Find out more by exploring my tutorials on drawing the head.
You can also convert this into an eye model to help with positioning your pupil correctly (the vertical and horizontal line marks the position of the pupil).
Using Your Drawing Models
These models are simplified representations of facial features and the head. They can help you understand how features might look from challenging angles, especially when your reference image isn’t clear or available. Rotate the model to study foreshortening and observe how planes shift or disappear from view. This kind of practice helps build a mental library for drawing from imagination, but it doesn’t replace studying real faces.
Maintaining Your Play-Doh
If your Play-Doh starts to dry out, remove hardened or flaky bits and then knead it well. Store it in an airtight container or Ziploc bag to keep it usable for months. For a longer-lasting alternative that doubles as an eraser, check out my tutorial on how to make putty erasers from common household items.
Hope you had as much fun making these as I did!
Darlene
Darlene created RFA In 2013 with the goal of sharing simple yet detailed drawing tutorials with other artists on the world wide web. She is a self taught pencil portrait artist and Youtuber.
How to Make DIY Models to Enhance Your Drawing Skills Read More »